This is handons implementation where we will install Oracle Virtual Box and create virtual machine on it with CentOS8 as operating system.
Installing Virtual Box
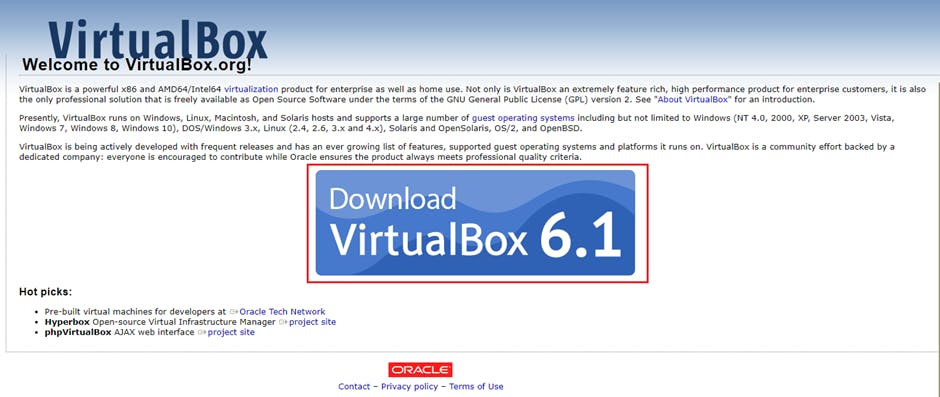
- Goto virtualbox.org and click on download virtual box.
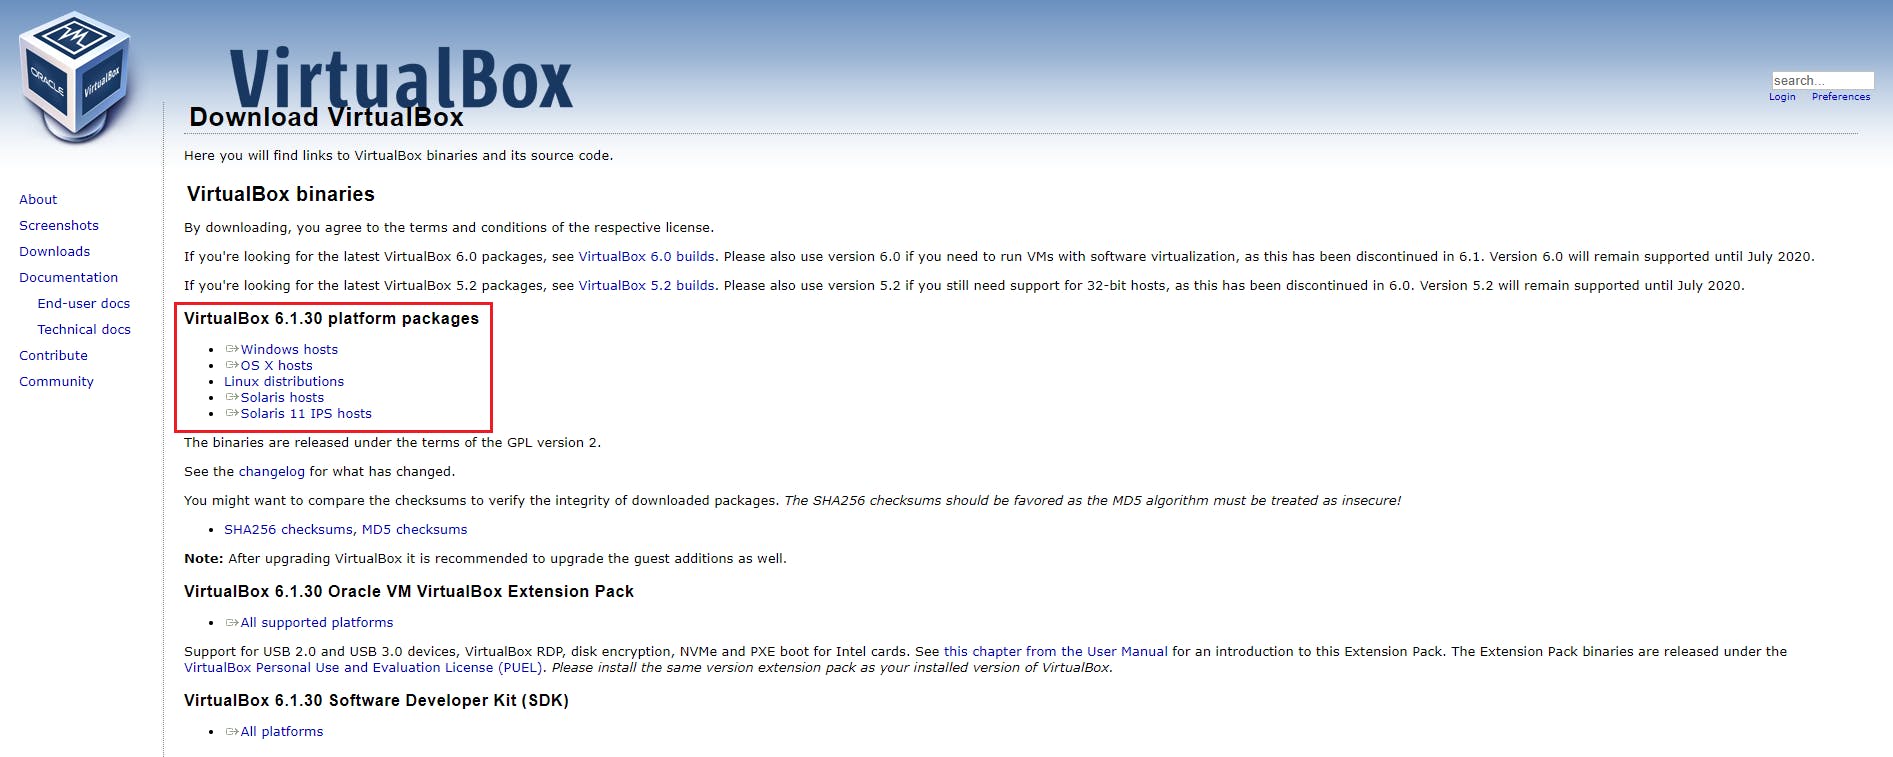
- When you click on download virtual box it will take you to downloads page from where you can download virtual box binaries based on your OS platforms.
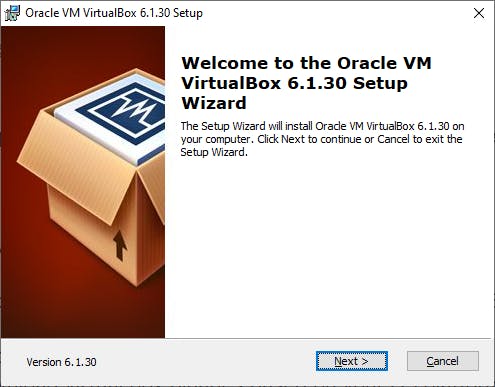
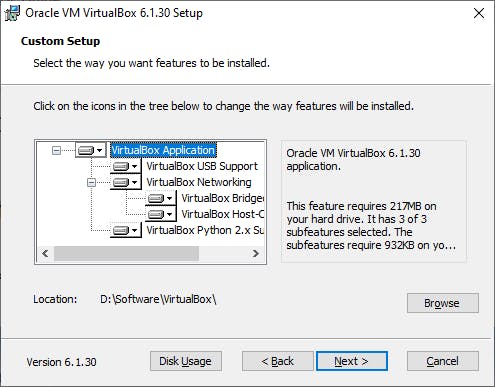
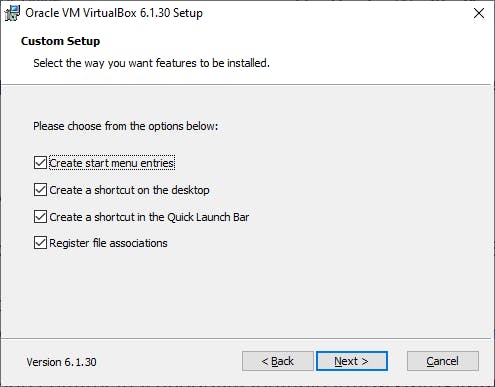
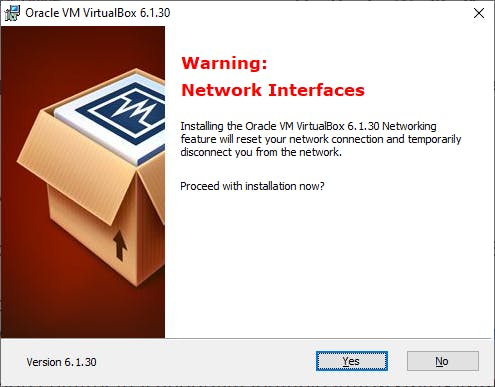
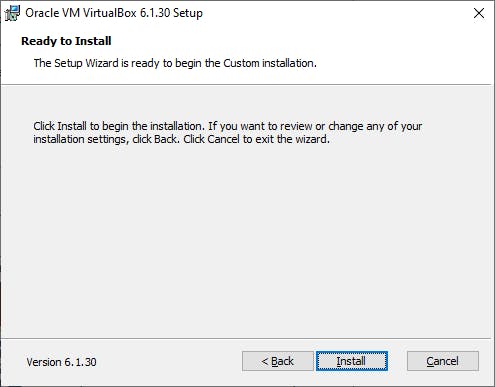
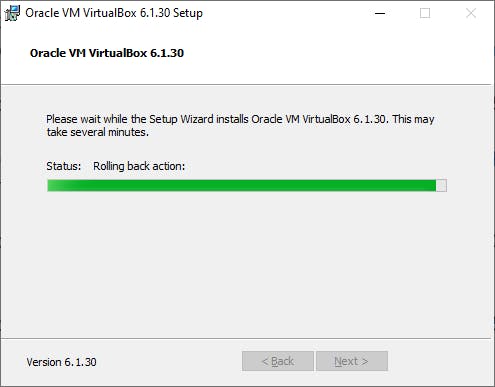
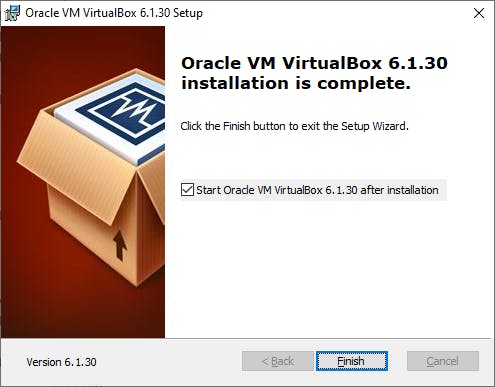
- Once binary is downloaded go ahead with installation of virtual box. Here we will perform installation on windows 10 OS.
Installing CentOS8 On Virtual Box
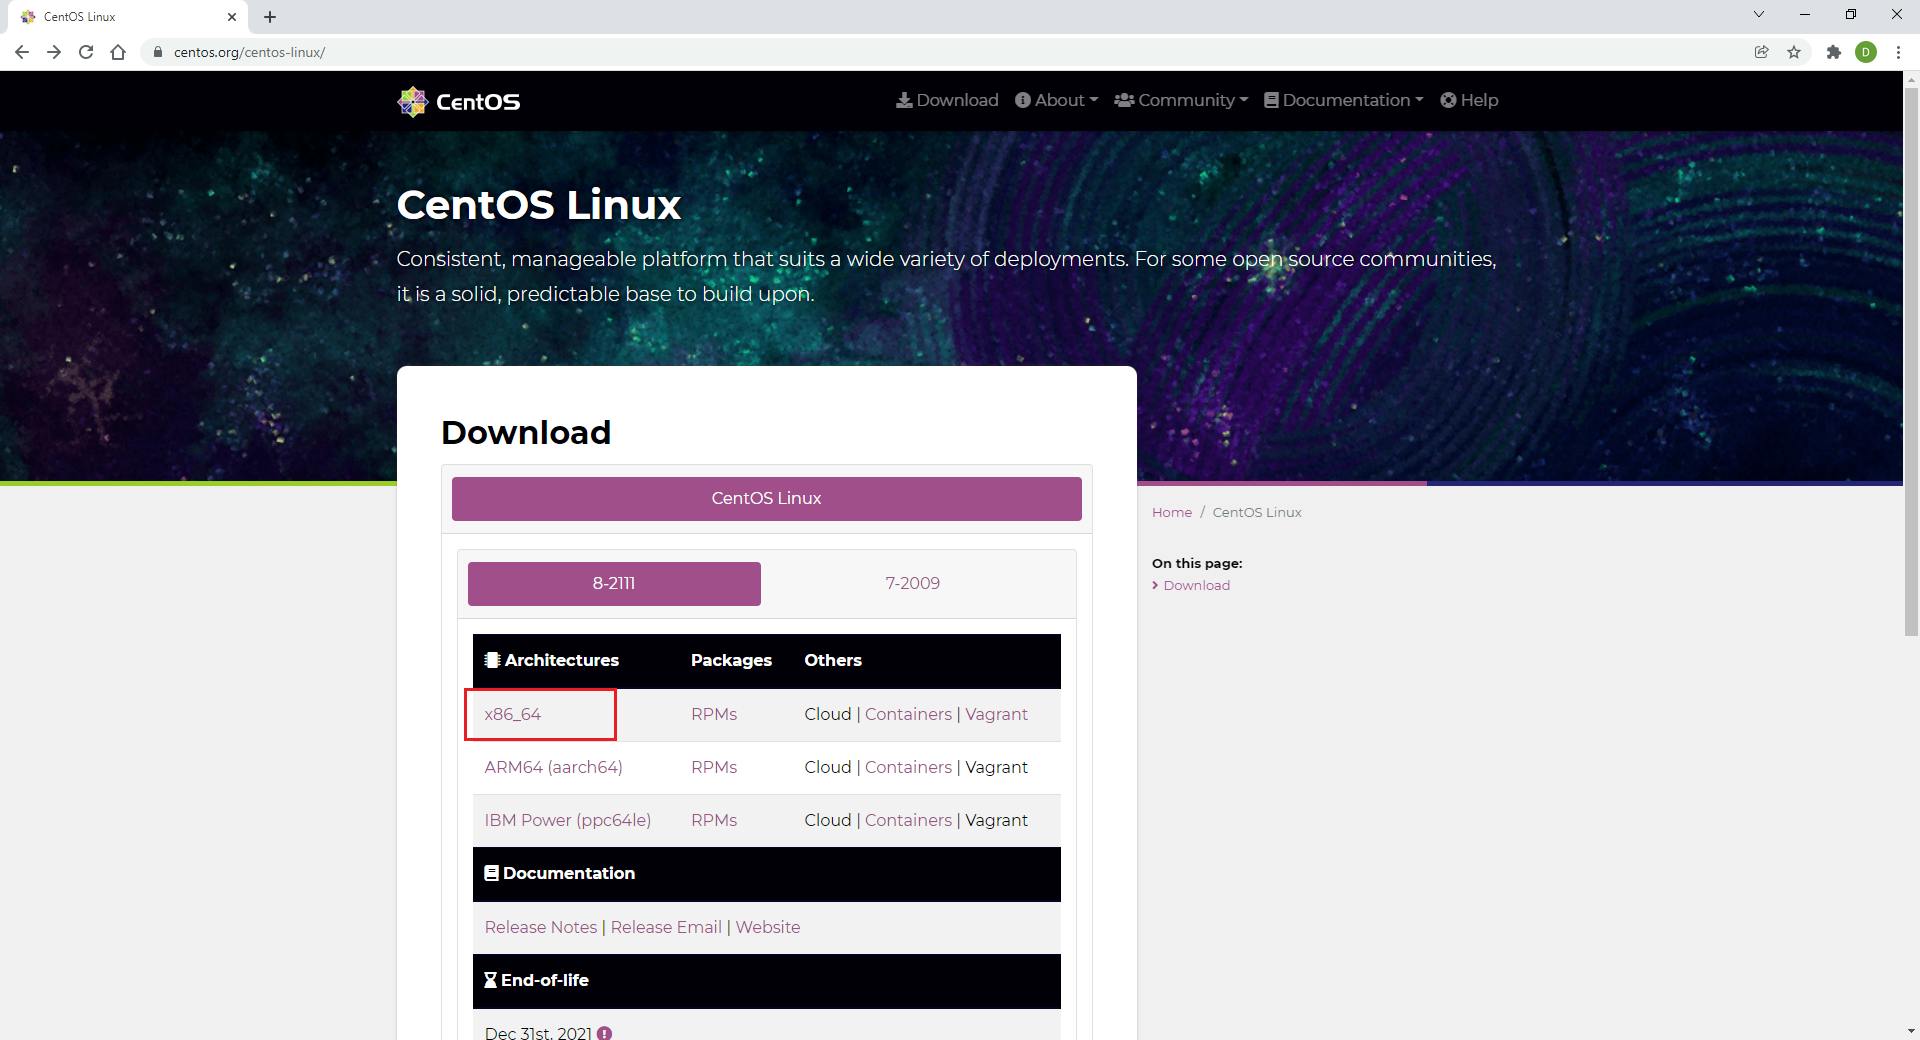
- Open centos.org and click on CentOS Linux

- Then click on x86_64 as shown below
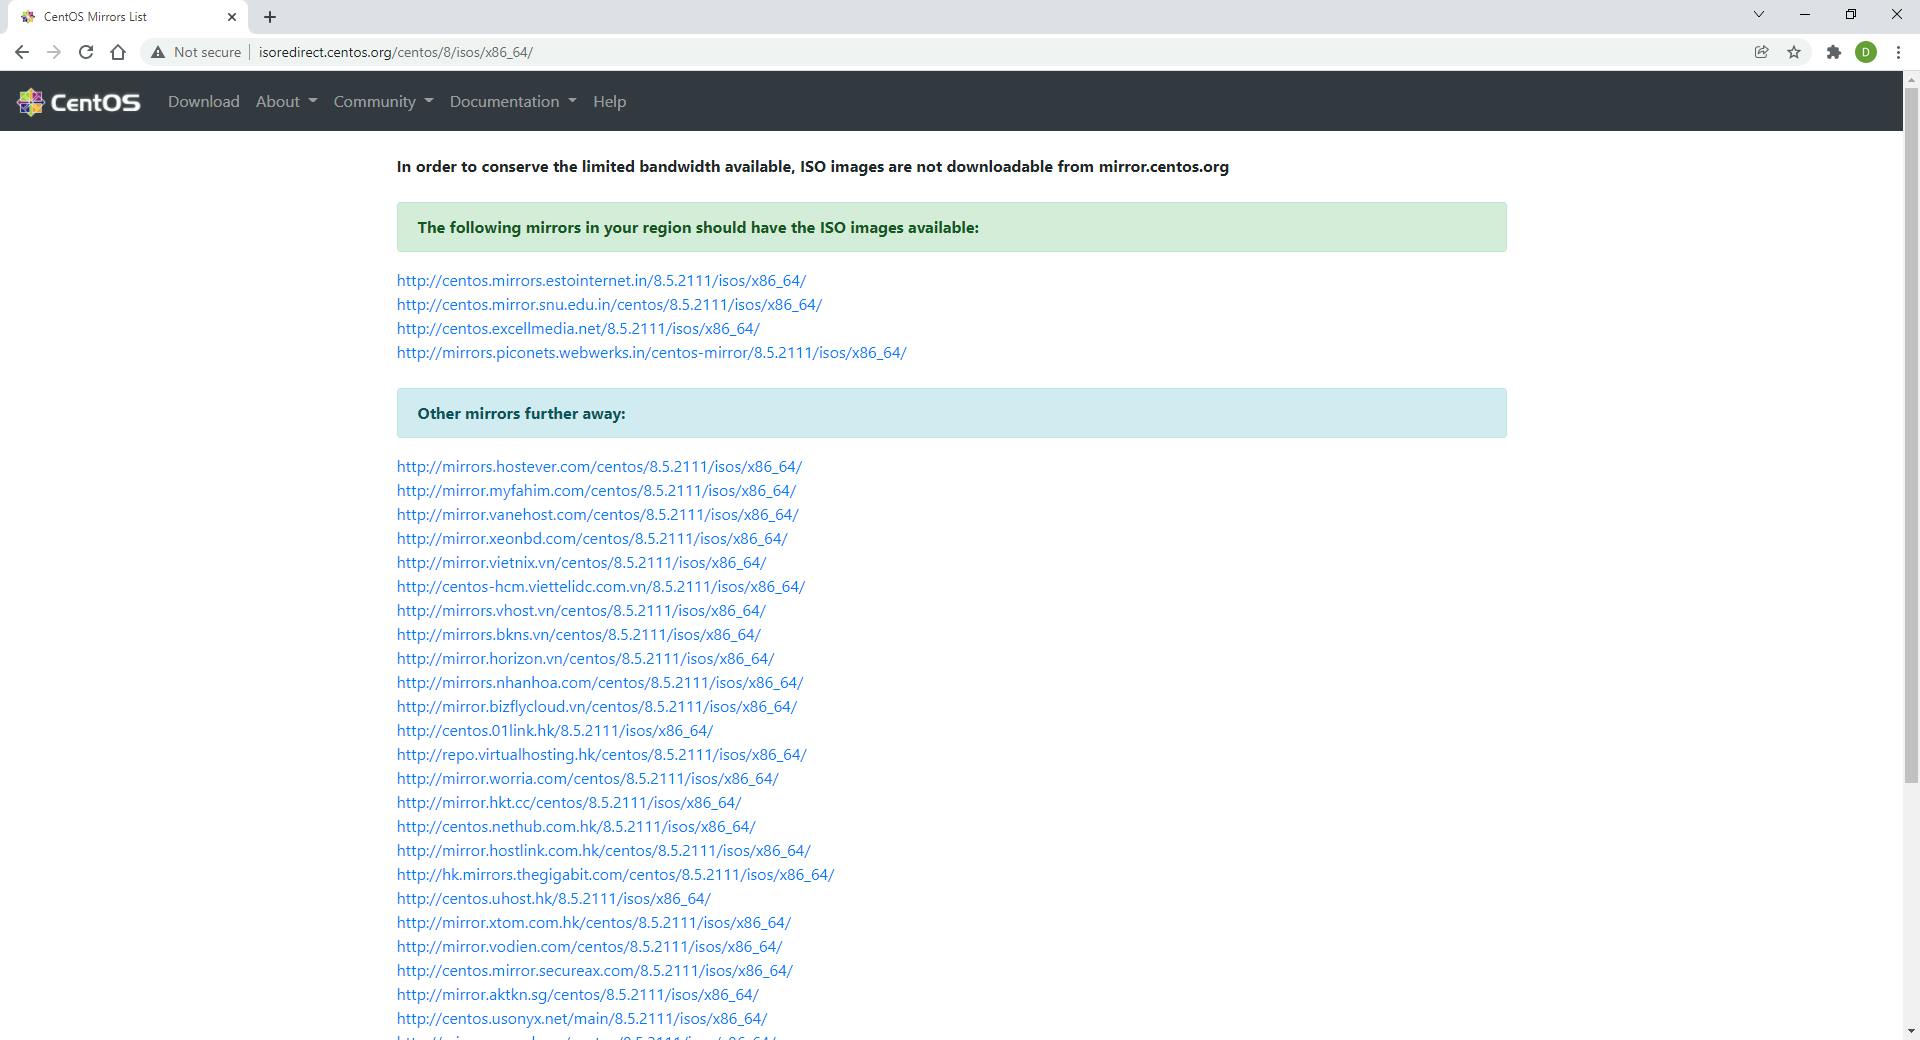
- This will take you to the page where all mirror sites are listed for download, click any from them and the ISO file download will start.
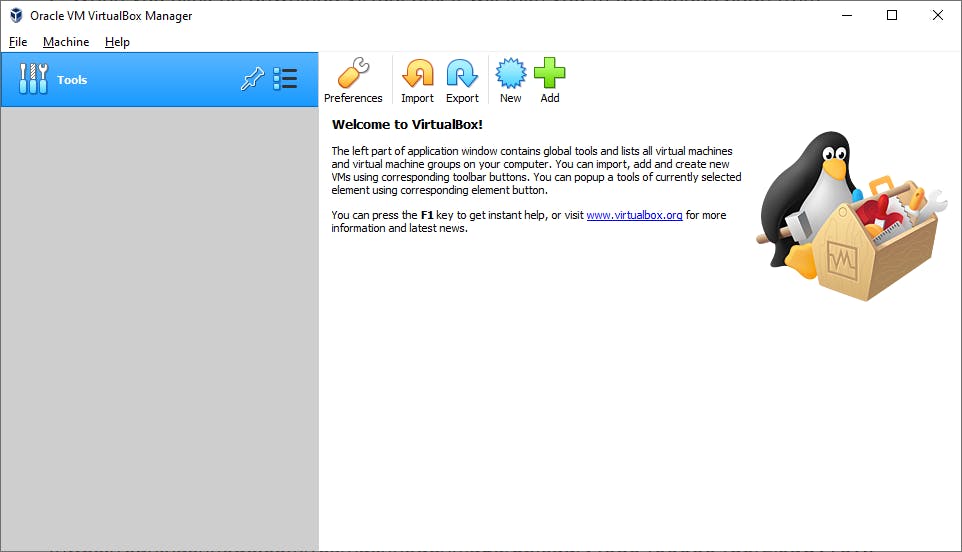
- Now open virtualbox we have installed and you will come to below page
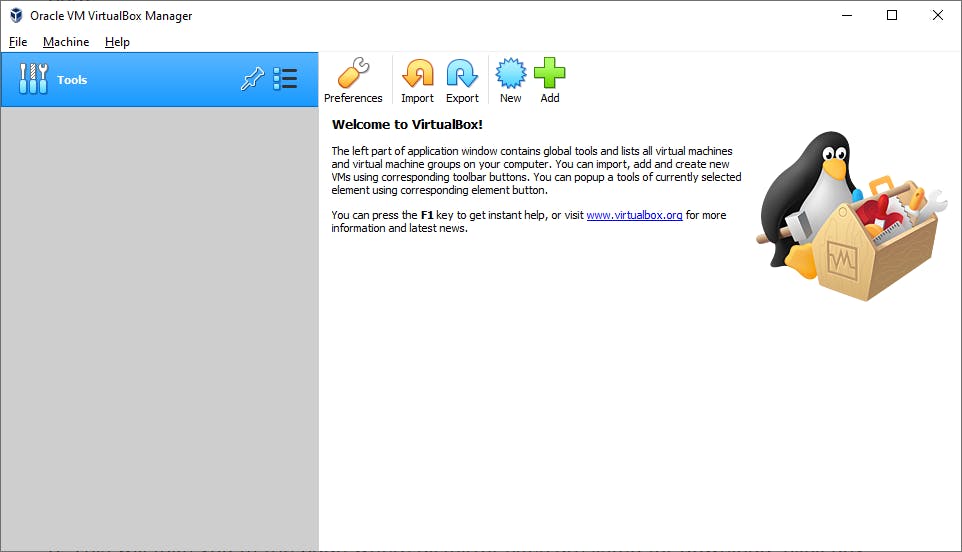
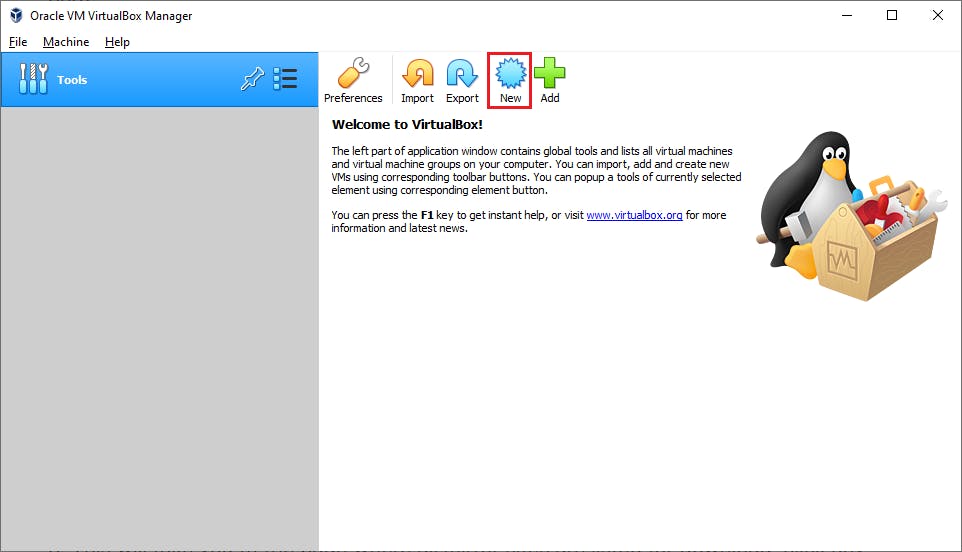
- We will now start to create new virtual machine Click on new as displayed below.
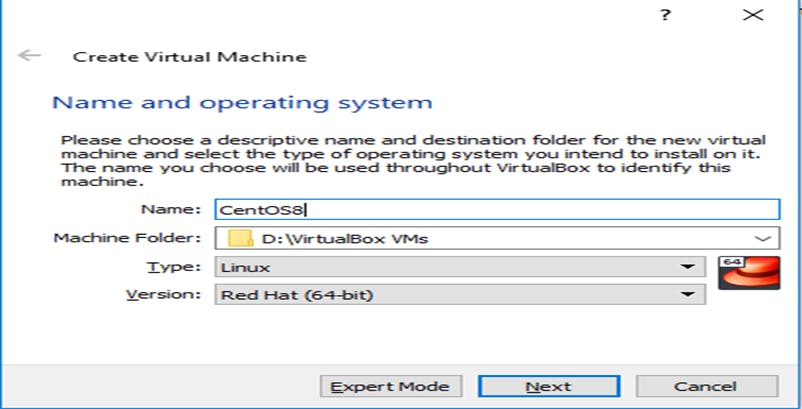
- It will popup window where we will set name as "CentOS8", Path, Type as "Linux", Version as "Redhat (64bit)" and click on next
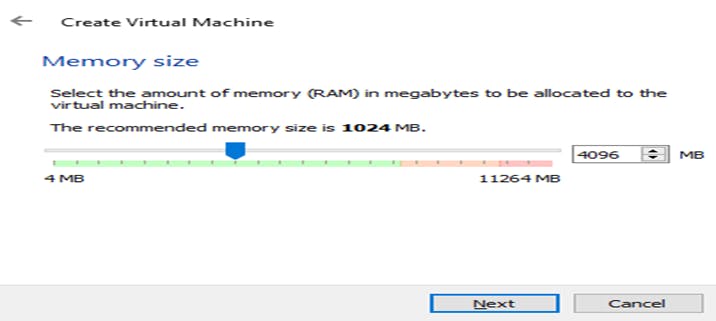
- Then you will have to define your "RAM" based on RAM availability on your machine.
- Then for creating virtual hard disk select "Create a virtual hard disk now".
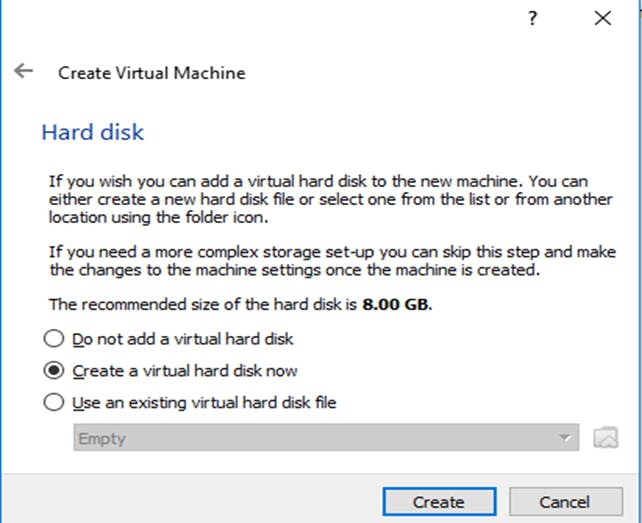
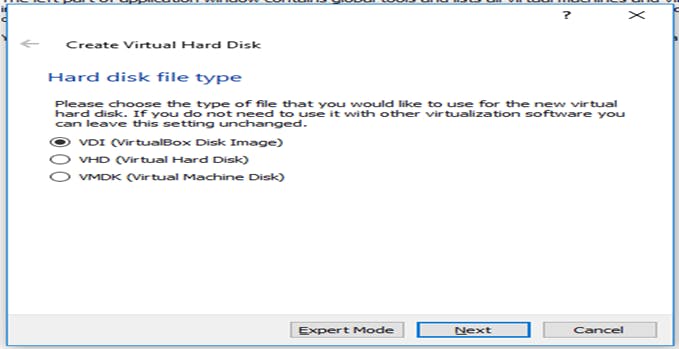
- Select hard disk file type as VDI.
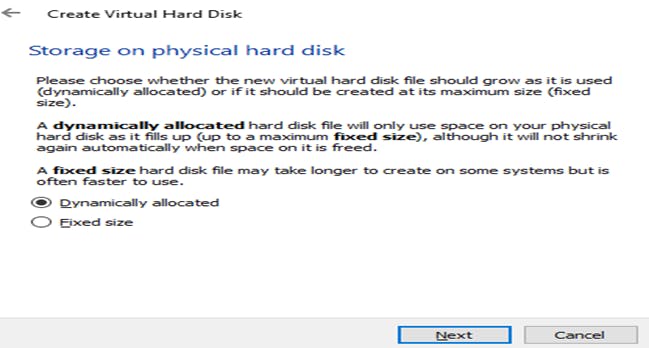
- Set physical hard disk as "Dynamically allocated"
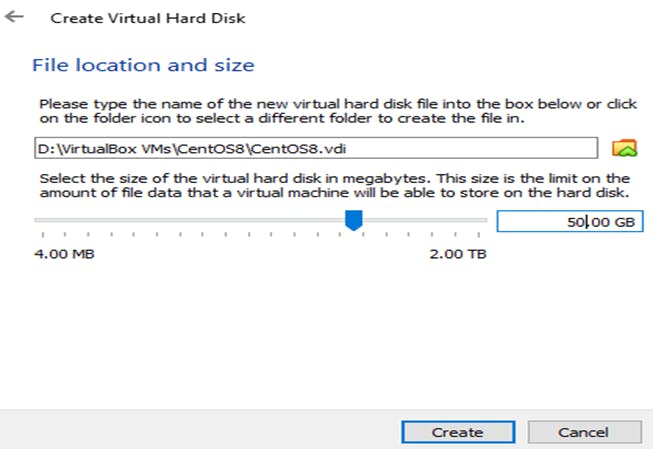
- Now select the location and size of your virtual hard disk
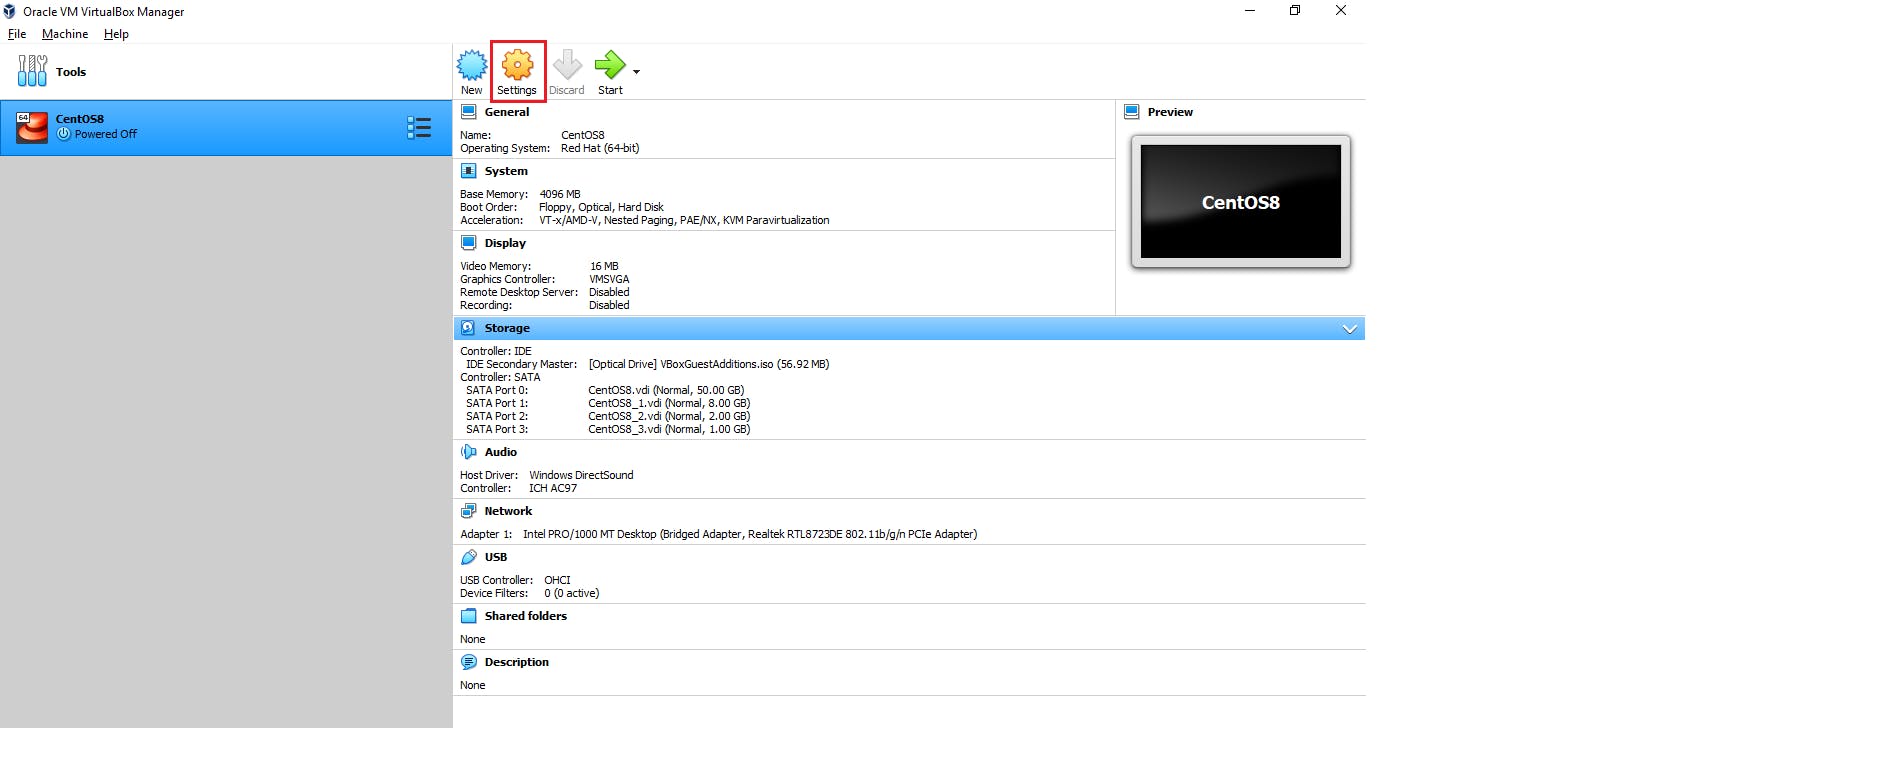
- Once this is done goto settings
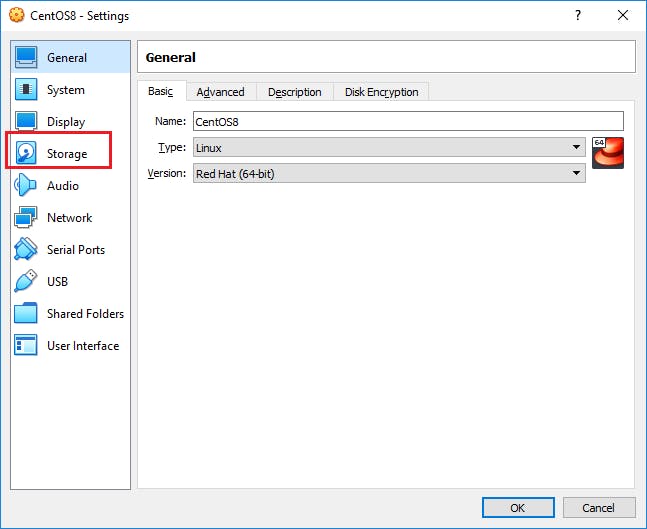
- Then select "Storage" from left side of the menu.
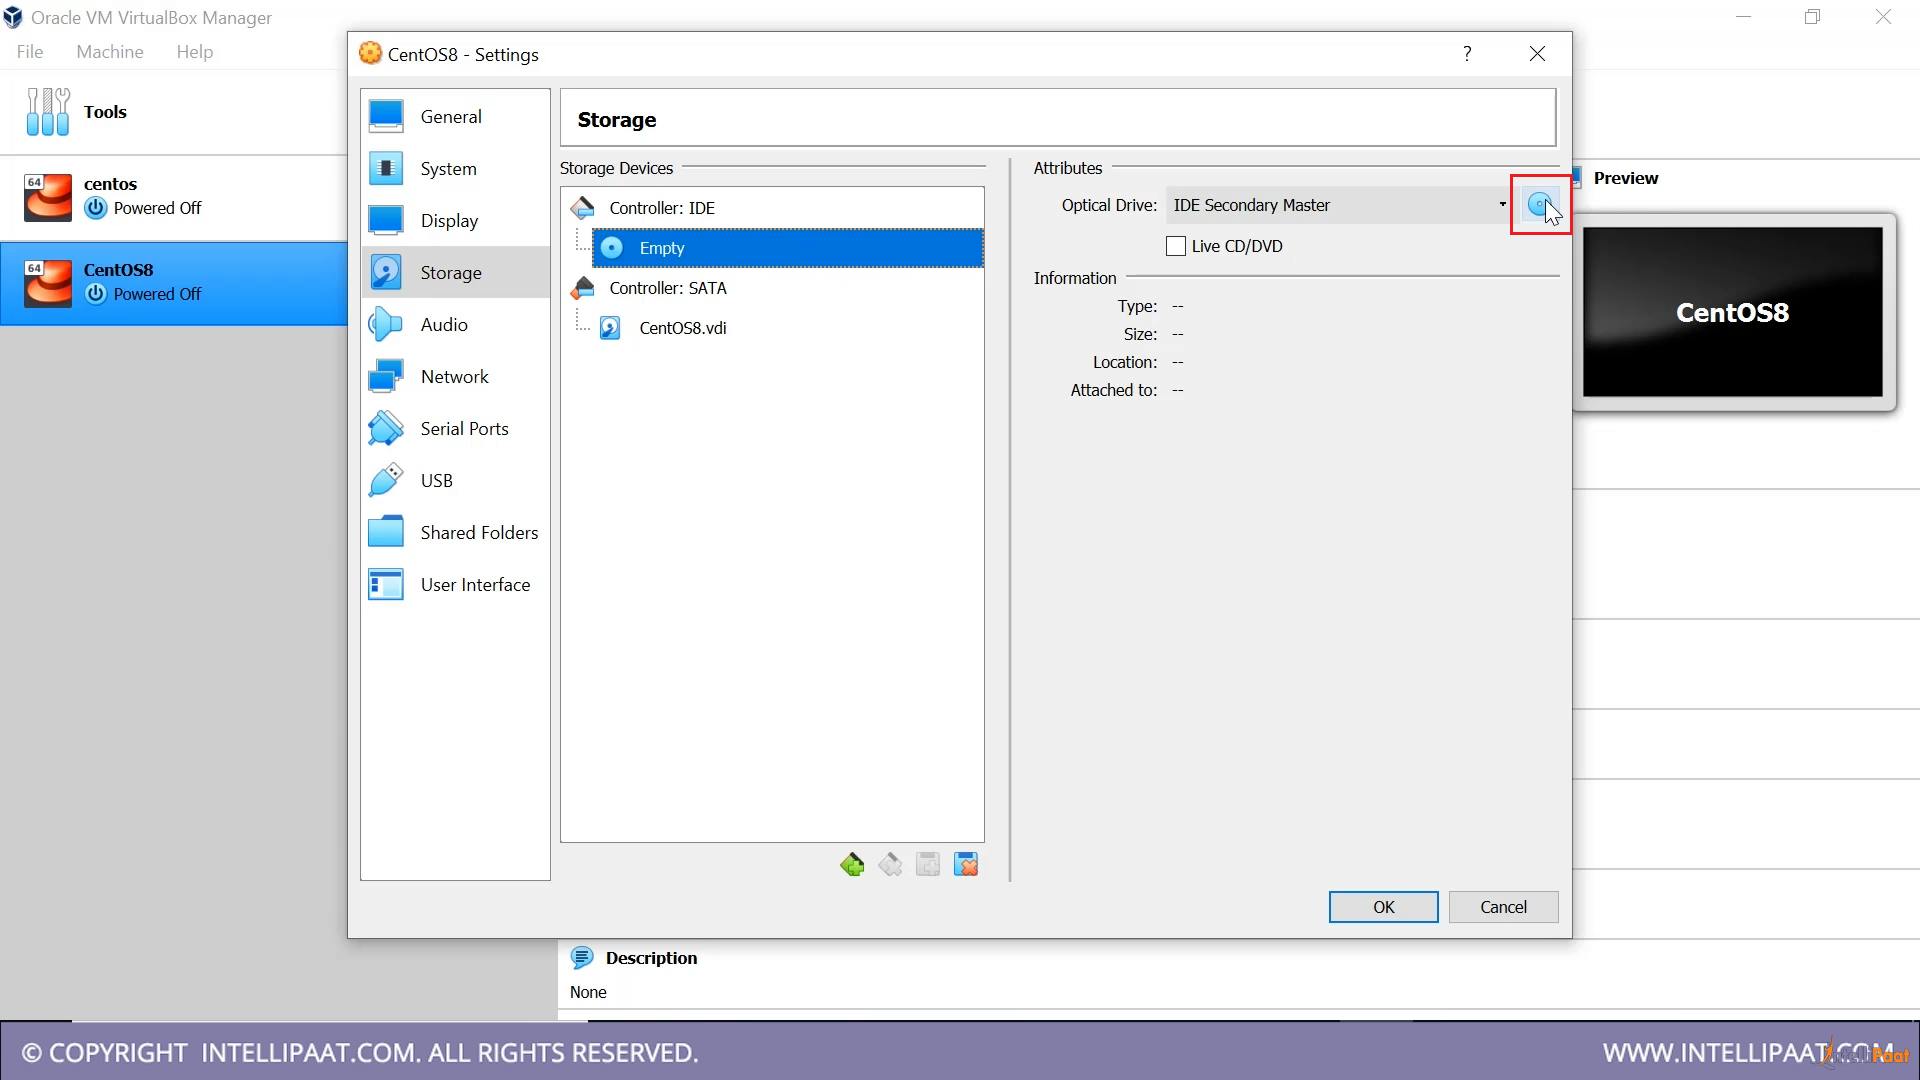
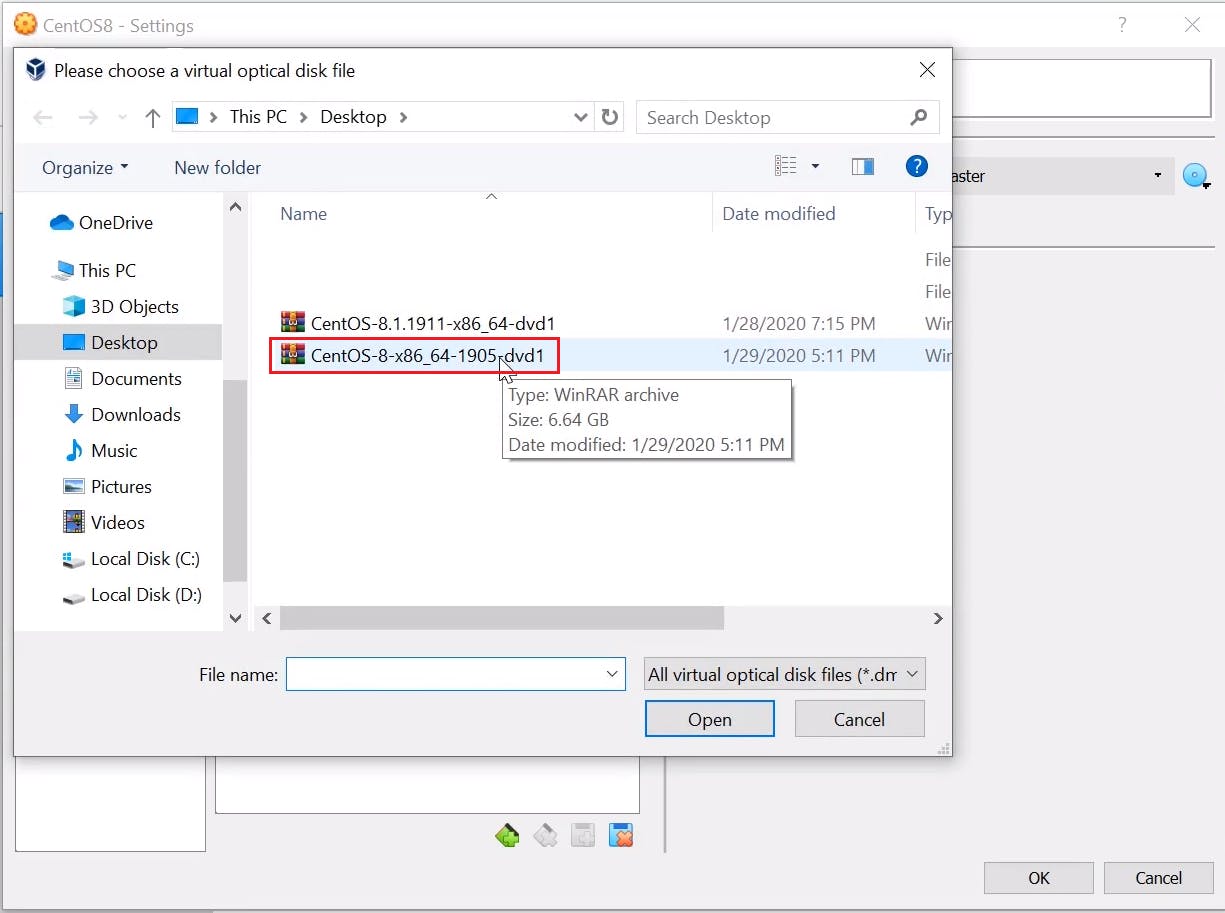
- Now under attribute click on the disc button to set optical drive and select "Choose a disk file"
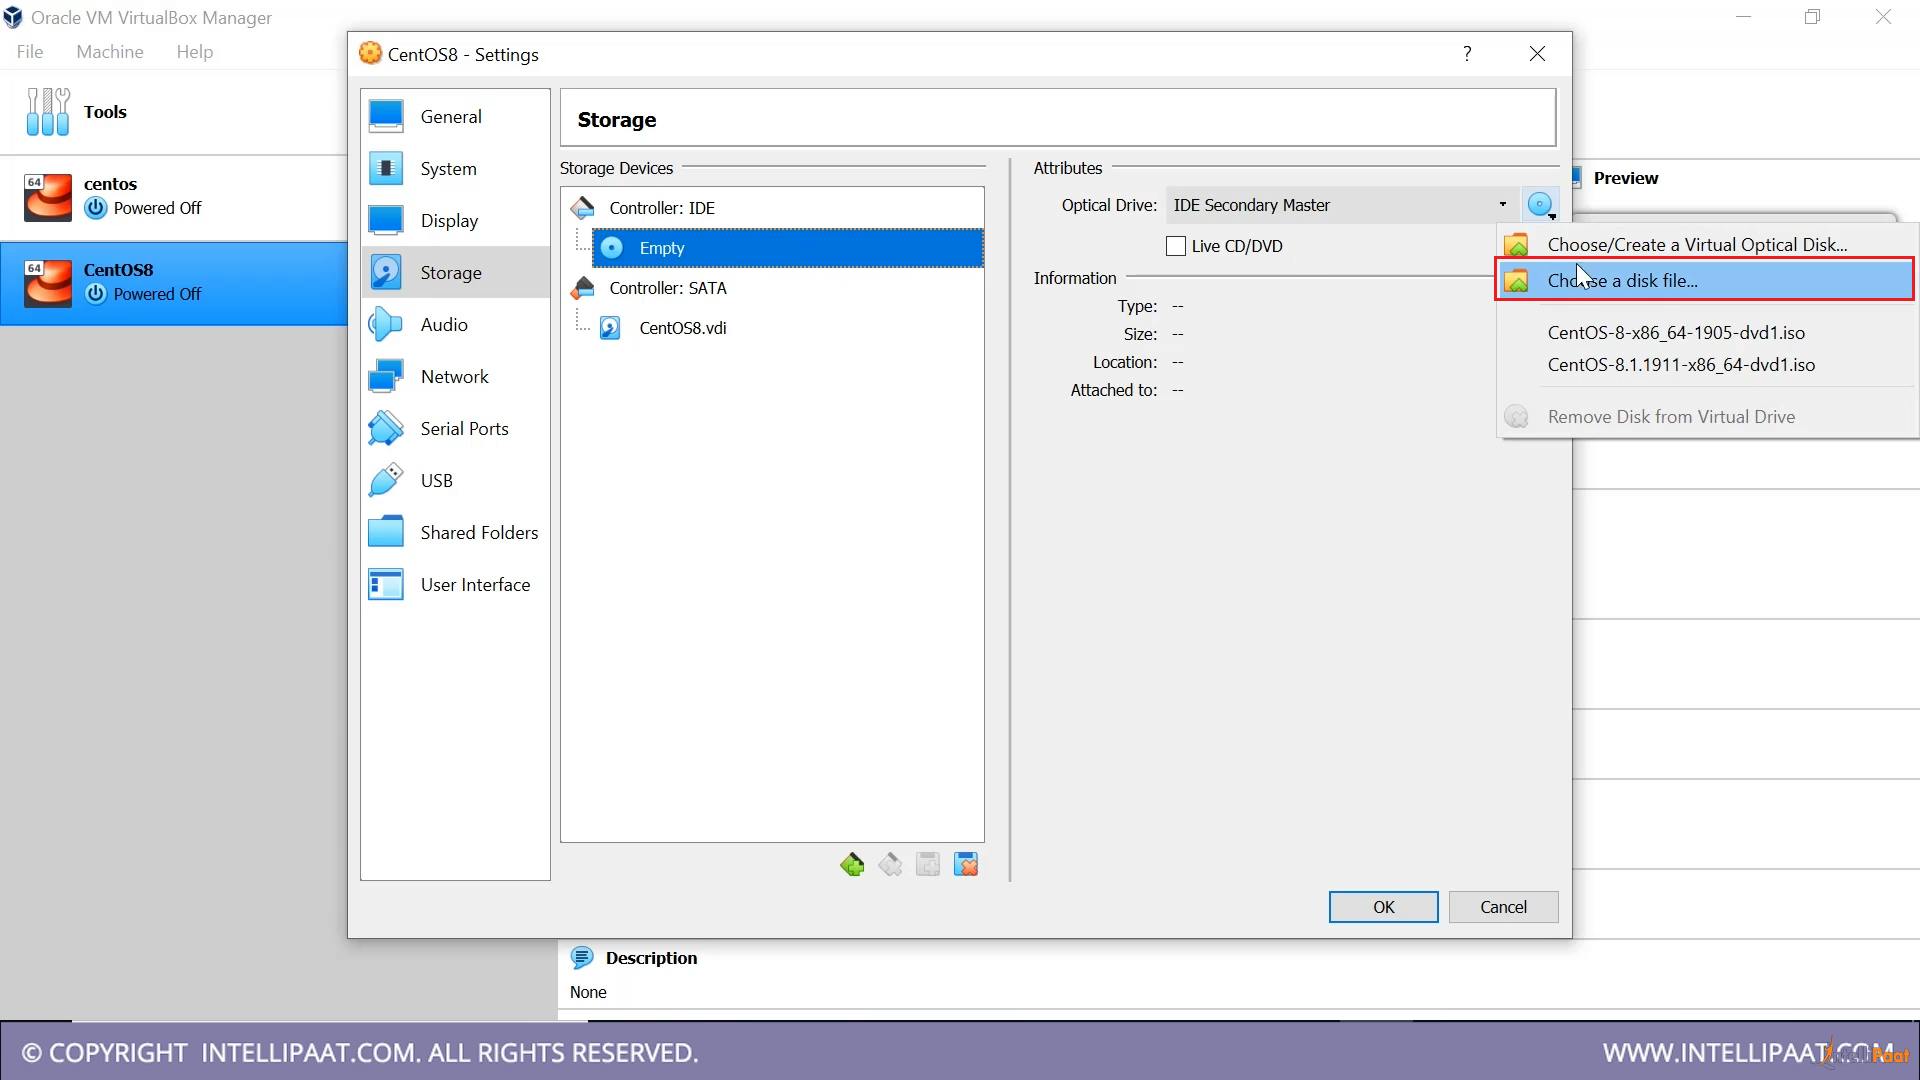
- In this disk file select the ISO CentOS8 image that we downloaded earlier click on open and press OK.
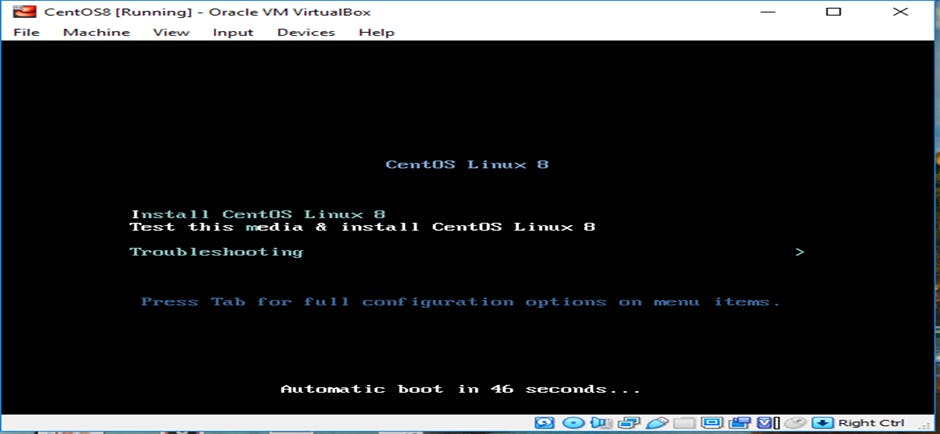
- Now click on start and the machine will start booting


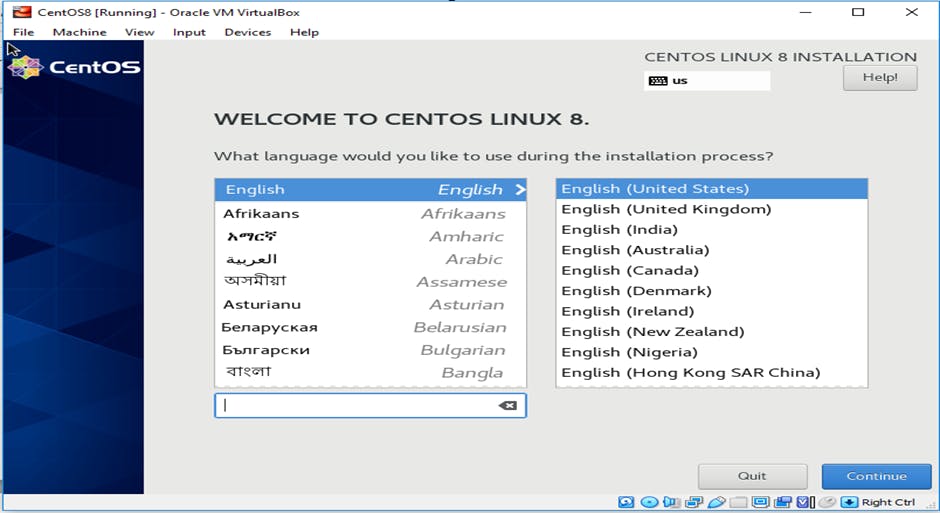
- Select Language and click continue
- Then click "Installation Destination" and then select "Local Standard Disk" and press Done
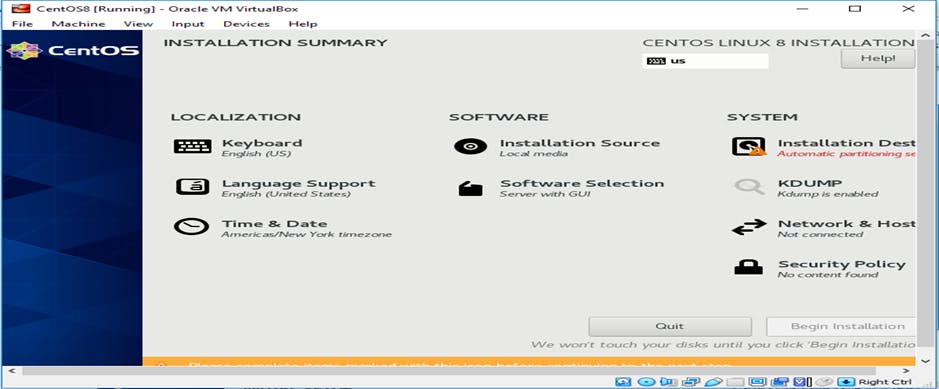
- Once you select done it will take you back to below page where "Begin Installation" button will become enabled. Click on it.
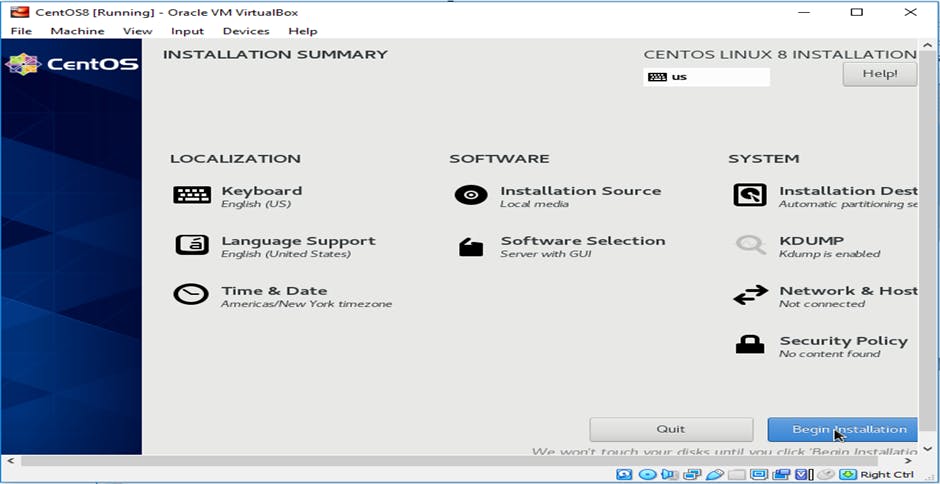
- It will then ask you to set password for root user, click on root and set password
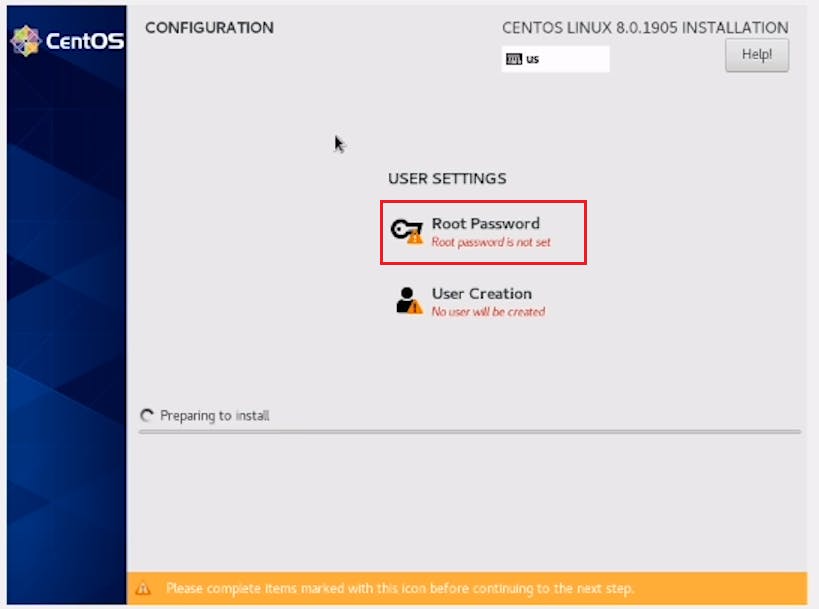
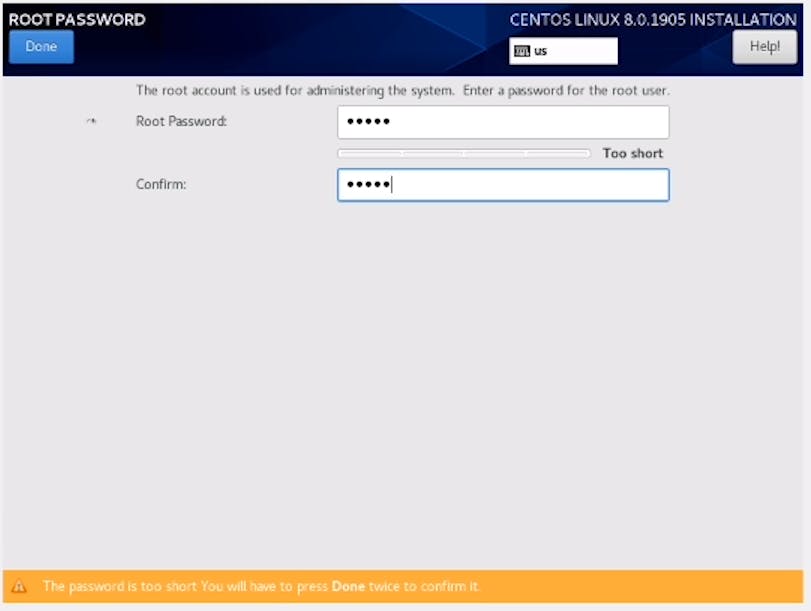
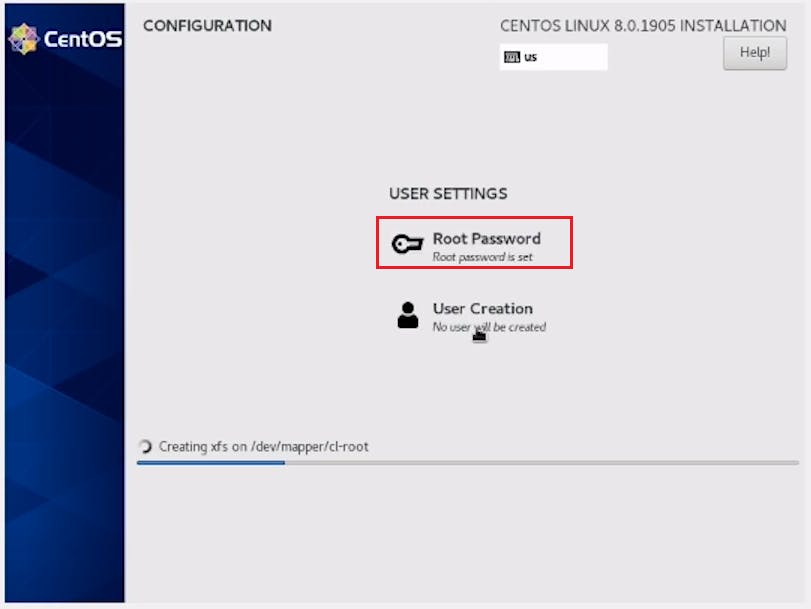
- Now lets create new user and make him administrator
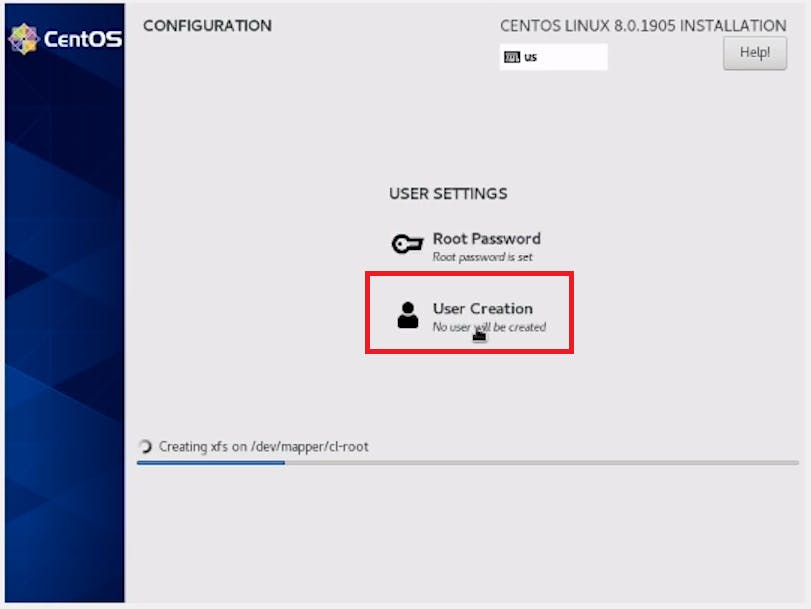
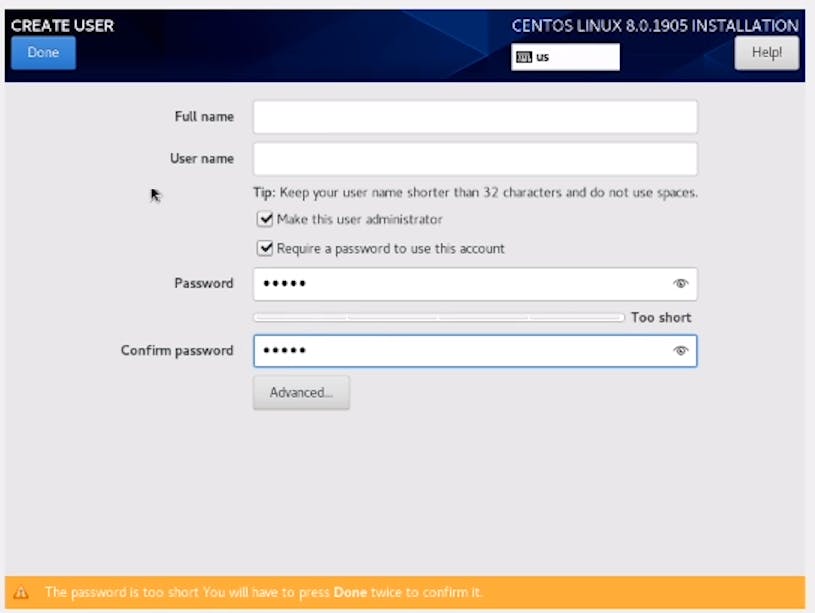
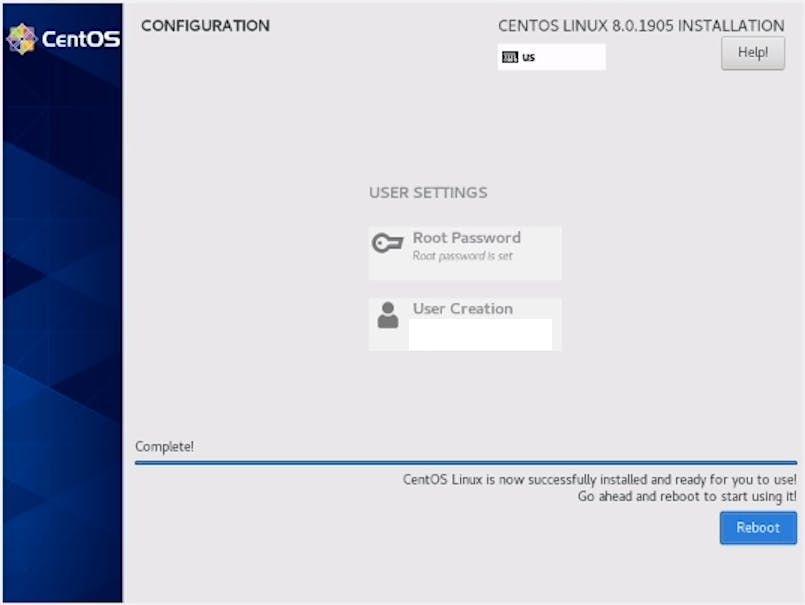
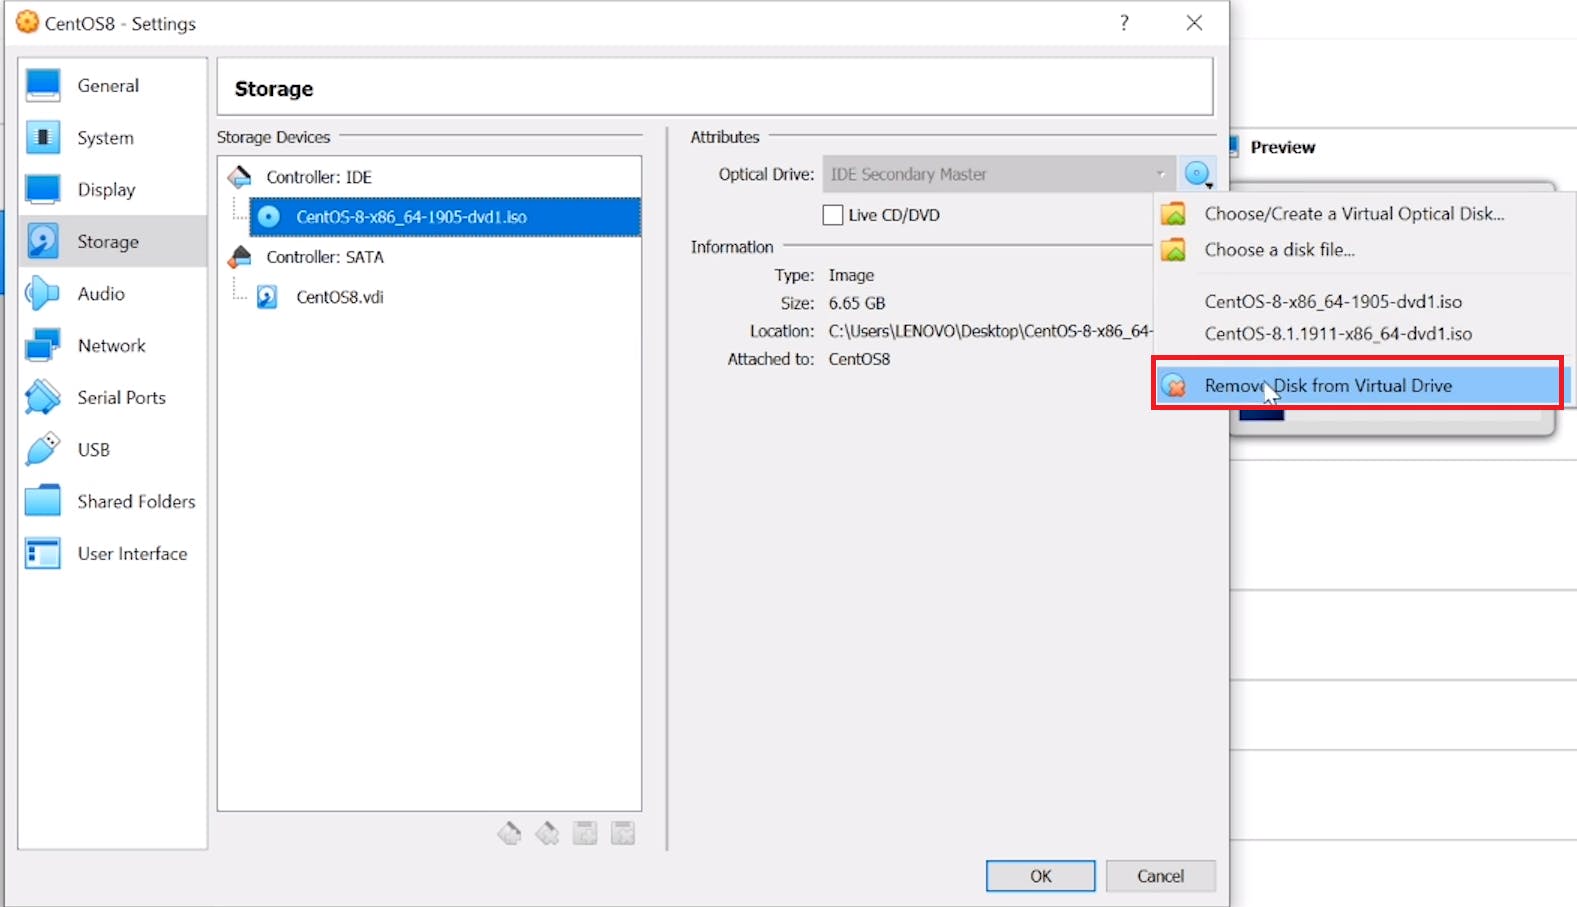
- Once you get reboot option click "Right CTRL" button on your keyboard which will release your cursor and goto virtual box. In virtual box click on setting and goto Storage and remove the ISO file as shown below
- Accept the license
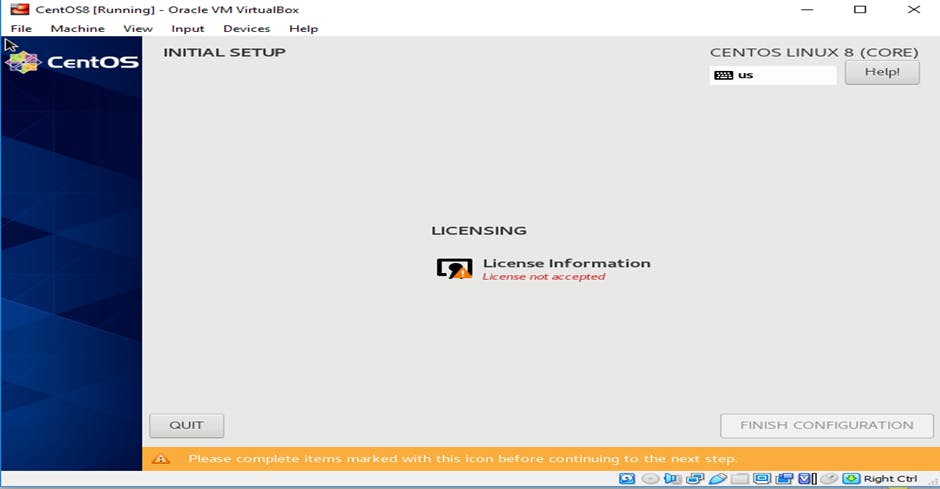
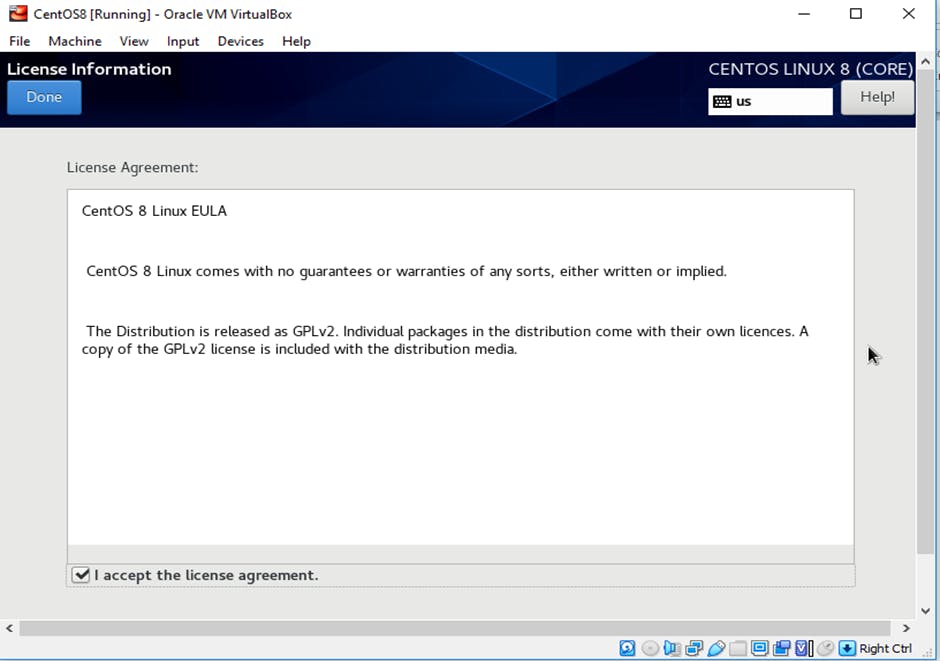
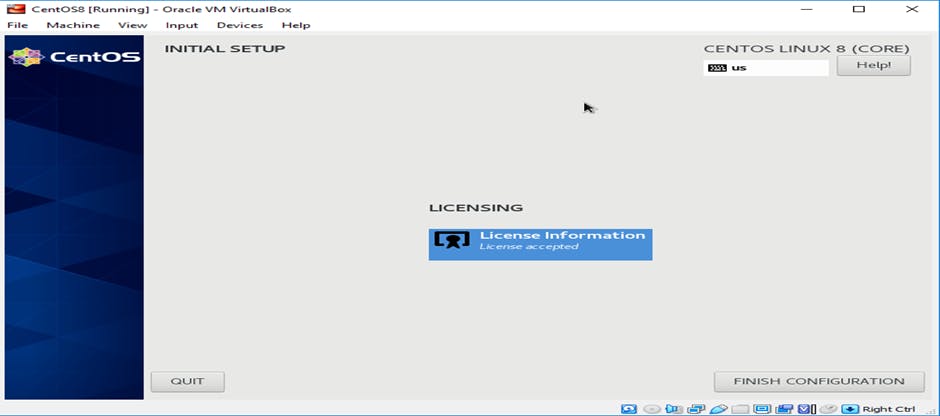
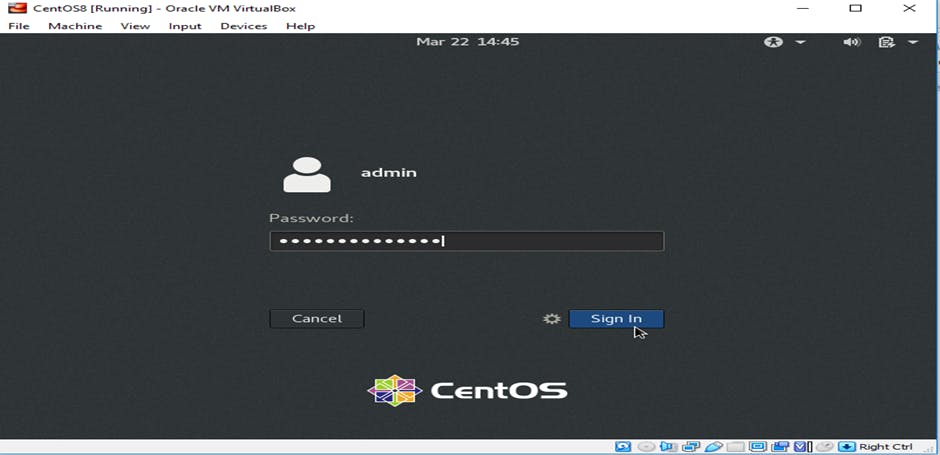
- After accepting license it will ask you to login with your admin user we created.
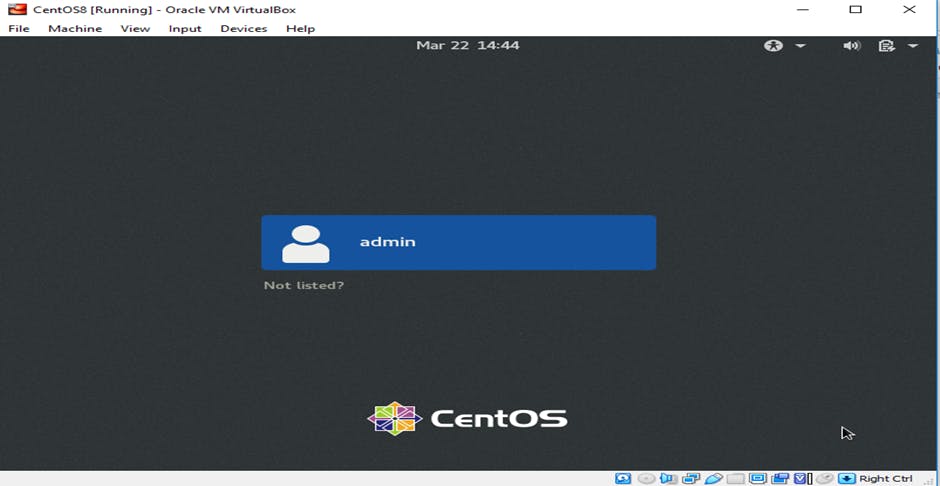
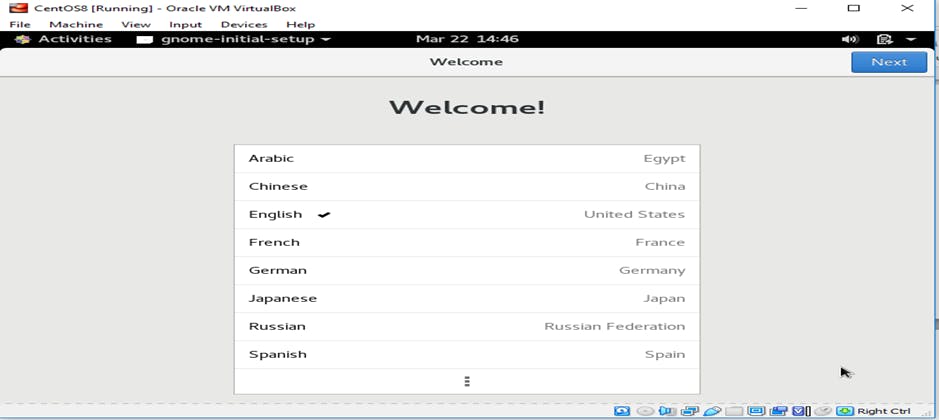
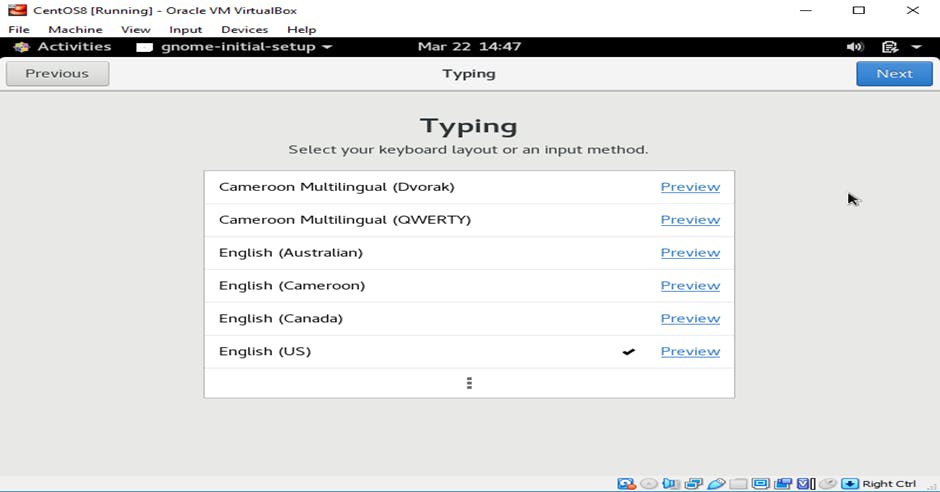
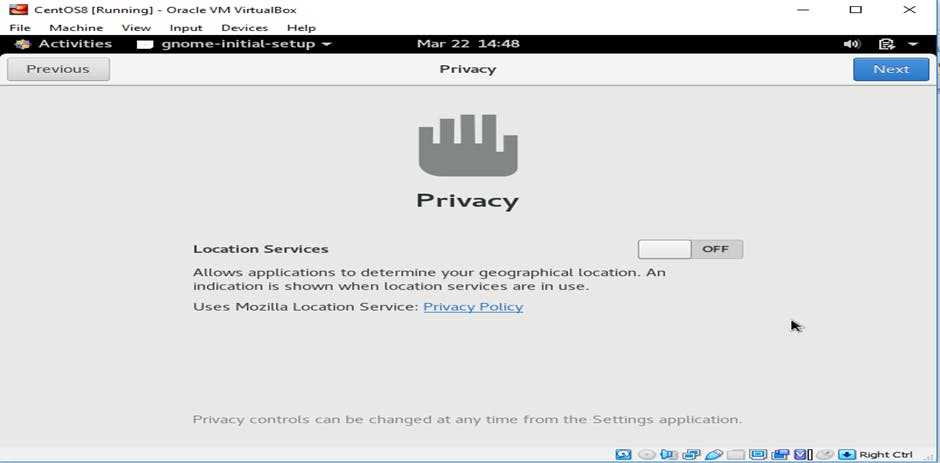
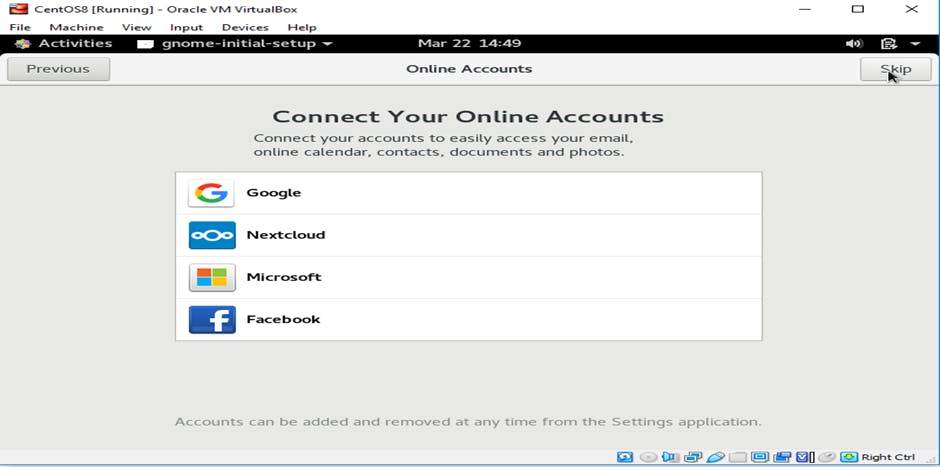
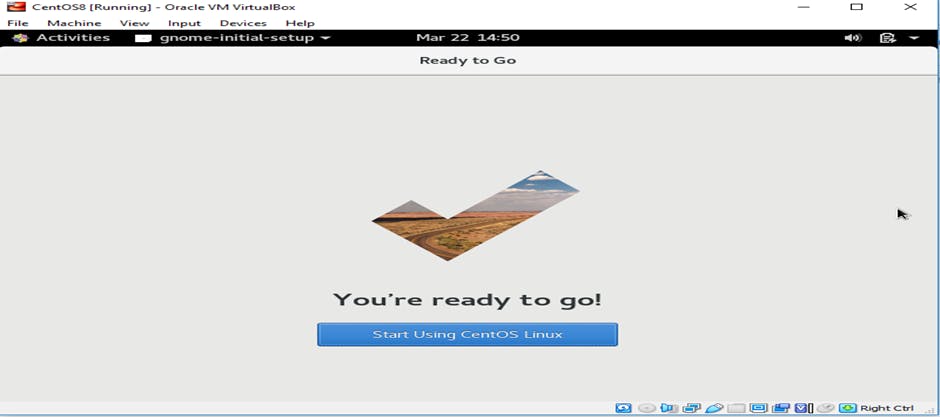
- As part of setup select your language and privacy settings
